Web installer
CallMineAI ships with a browser-based installer — a guided wizard at /install that checks your server, tests your database, runs migrations and seeders, and creates your first super-admin account. It's the fastest way to go live and requires no shell access beyond uploading the files.
The installer is designed to run before a working database exists, so you can point it at a fresh, empty database and let it do the rest.
Prefer the command line?
Every step below has a CLI equivalent — see Installation. The two paths are interchangeable; the web installer simply automates the manual steps.
How the gate works
A single flag in .env controls everything:
APP_INSTALLED=false
APP_INSTALLED | Behaviour |
|---|---|
false (or unset) | The whole app redirects to /install. The wizard is open. |
true | The wizard returns 404; the application runs normally. |
On the final step the installer writes APP_INSTALLED=true for you. To re-run the installer later (e.g. on a staging rebuild), set it back to false.
Warning
The gate runs before the database-backed session layer, so an un-installed site with no/invalid database credentials still reaches the wizard instead of crashing with a connection error.
Before you start
- Upload the built application to your server (or
git clone+composer install+npm run build). - Copy the environment file:
cp .env.example .env. LeaveAPP_INSTALLED=false. - Create an empty database and note its host, name, user and password.
- Ensure
.env,storage/andbootstrap/cache/are writable by the web server. - Visit
https://your-domain.com/install.
Step 1 — Server requirements
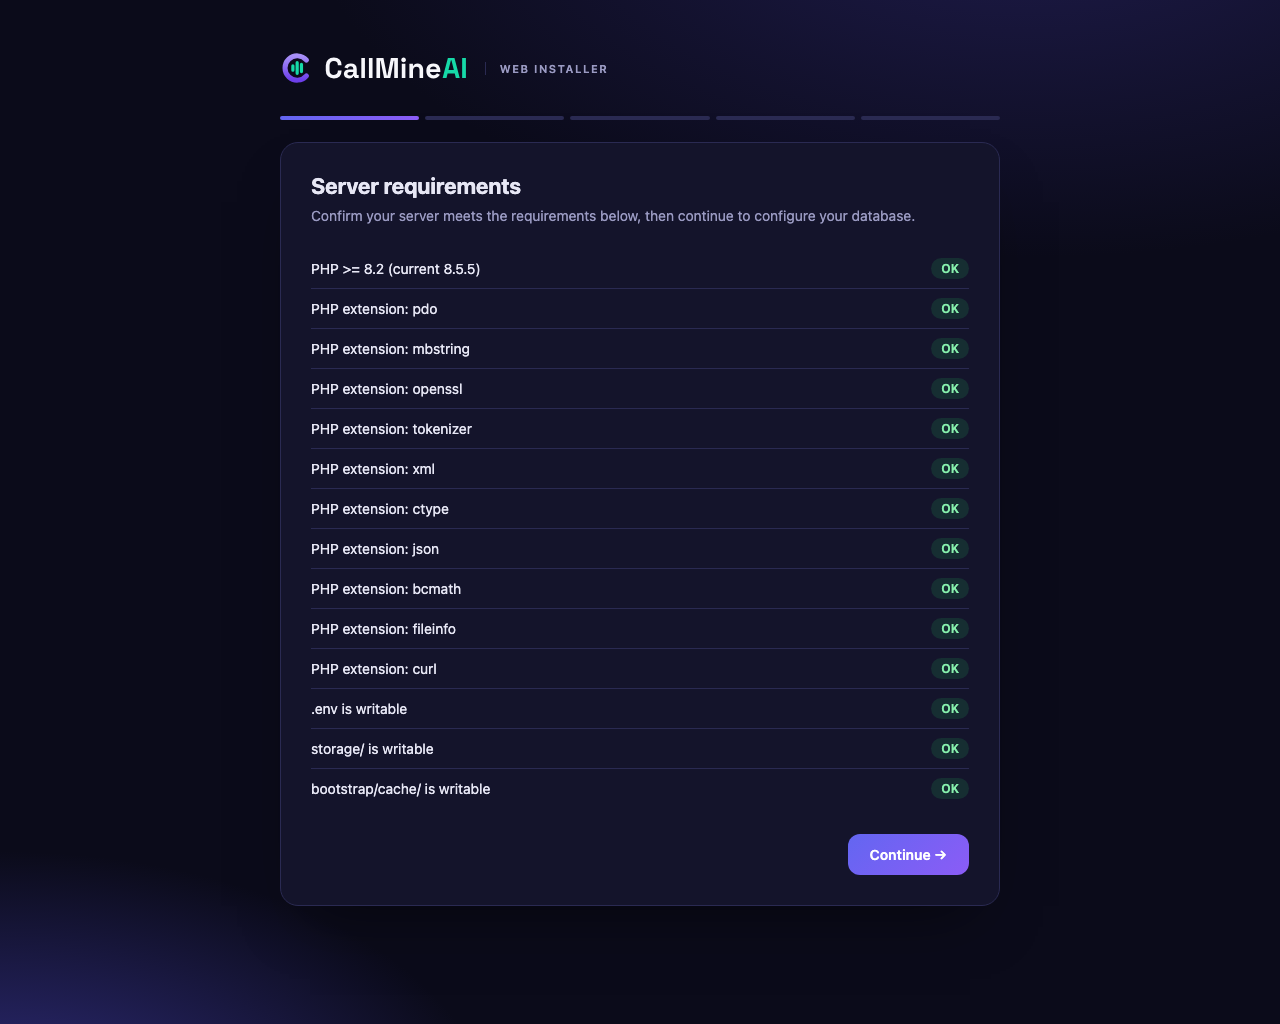
The wizard checks your PHP version, required extensions, and that the key paths are writable. Every row must read OK before you can continue.
Tips
If a row shows Missing, install the extension (or fix the folder permissions) and refresh. Common fixes: chmod -R ug+w storage bootstrap/cache and enabling ext-bcmath / ext-intl in your PHP build.
Step 2 — Application & database
Enter your application name, public URL and database credentials. MySQL/MariaDB, PostgreSQL and SQLite are supported.
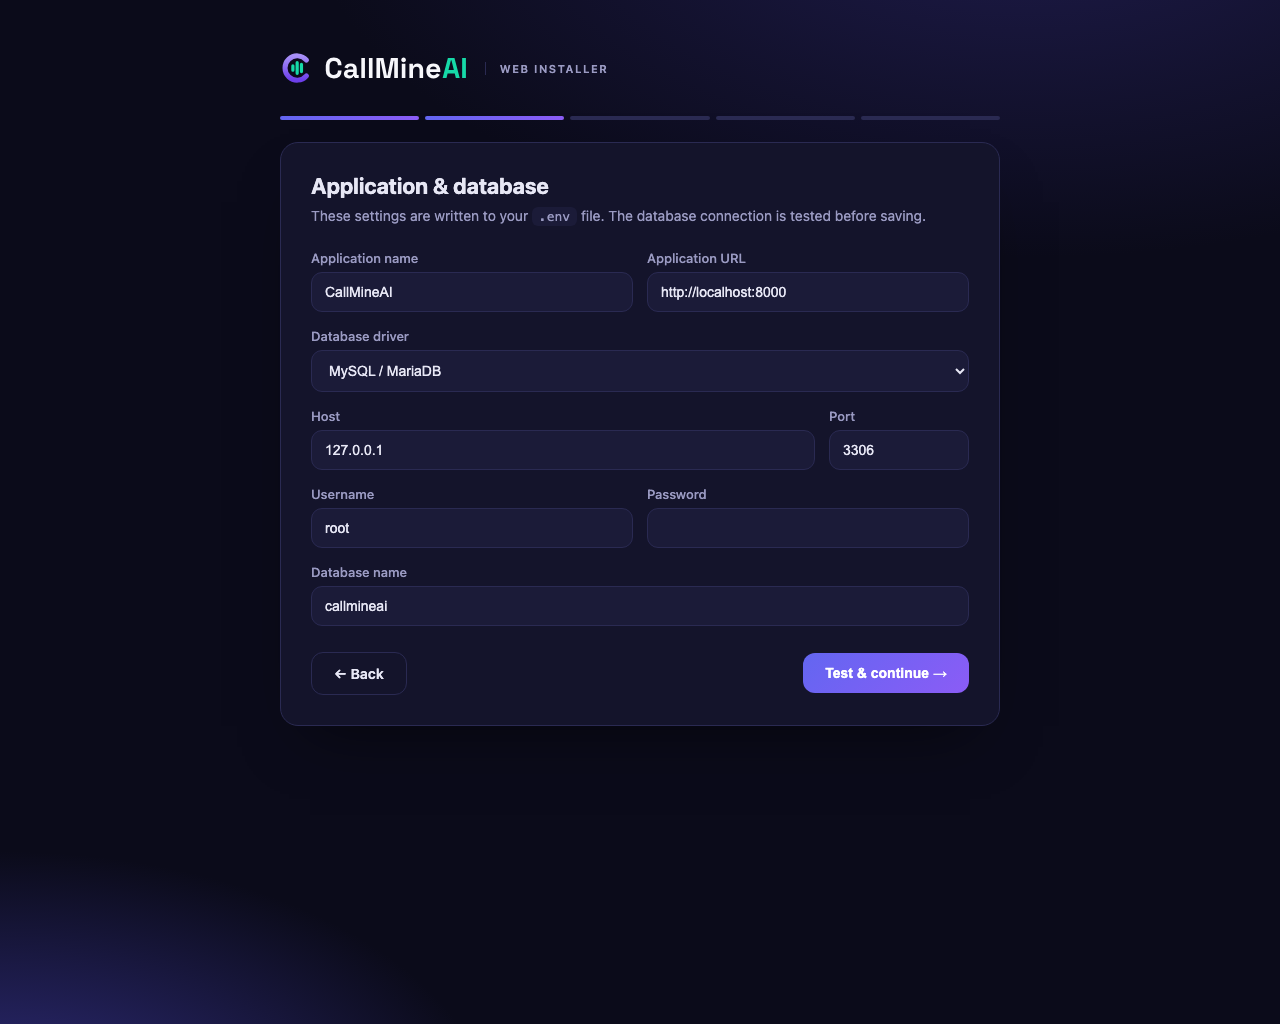
When you press Test & continue, the installer opens a real connection with the details you entered. Nothing is written until the connection succeeds — a bad password simply shows an error and your .env is left untouched. On success, the values are saved to .env.
Step 3 — Build the database (and demo data)
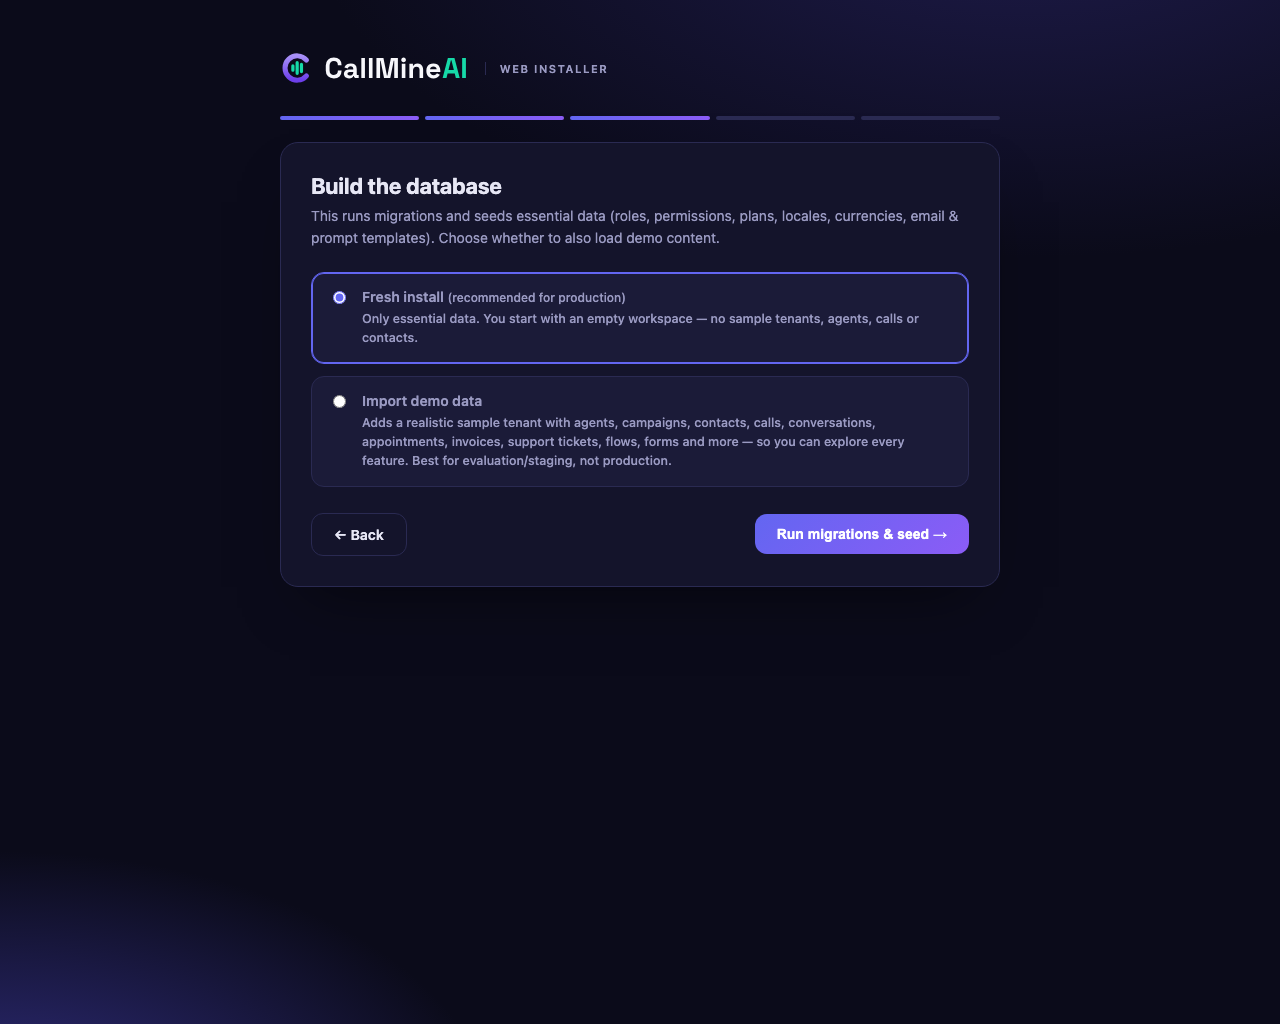
This runs the migrations and seeds the essential reference data (RBAC roles & permissions, plans, currencies, locales, translations, email & prompt templates).
Here you choose whether to also load demo content:
| Choice | What you get |
|---|---|
| Fresh install (recommended for production) | Essential data only. You start with an empty workspace — no sample tenants, agents, calls or contacts. |
| Import demo data | A realistic sample tenant populated across every module, so you can explore the product immediately. Best for evaluation/staging. |
What "Import demo data" includes
A single coherent tenant (Demo Customer, sign in at /login with customer@callmineai.com / 123456) with time-sequenced, cross-linked records:
| Area | Sample data |
|---|---|
| Calling | 2 agents, 2 campaigns, 20 contacts, 20 calls, a phone number, knowledge-base items |
| Contact lists | 3 lists with memberships |
| Messaging | WhatsApp account, WhatsApp + email templates, conversations with messages |
| Appointments | Scheduled, completed and no-show bookings |
| Support | Tickets with message threads |
| Marketing | Vouchers, a gift card, referrals + referral settings |
| Automation | An active flow (with an execution + steps) and a draft flow |
| Forms | A lead-capture form with submissions |
| Telephony | Inbound route + SIP trunk |
| Billing | Client subscription, credit purchase, invoices/payments, credit ledger |
| API | API keys (one revoked) with request audit logs |
| Integrations | Google Sheet connection, Twilio/OpenAI/ElevenLabs settings |
| Platform | KYC documents, notifications |
Not for production
Demo data uses placeholder credentials and fictitious records. Choose Fresh install for any real deployment.
Step 4 — Create your super admin
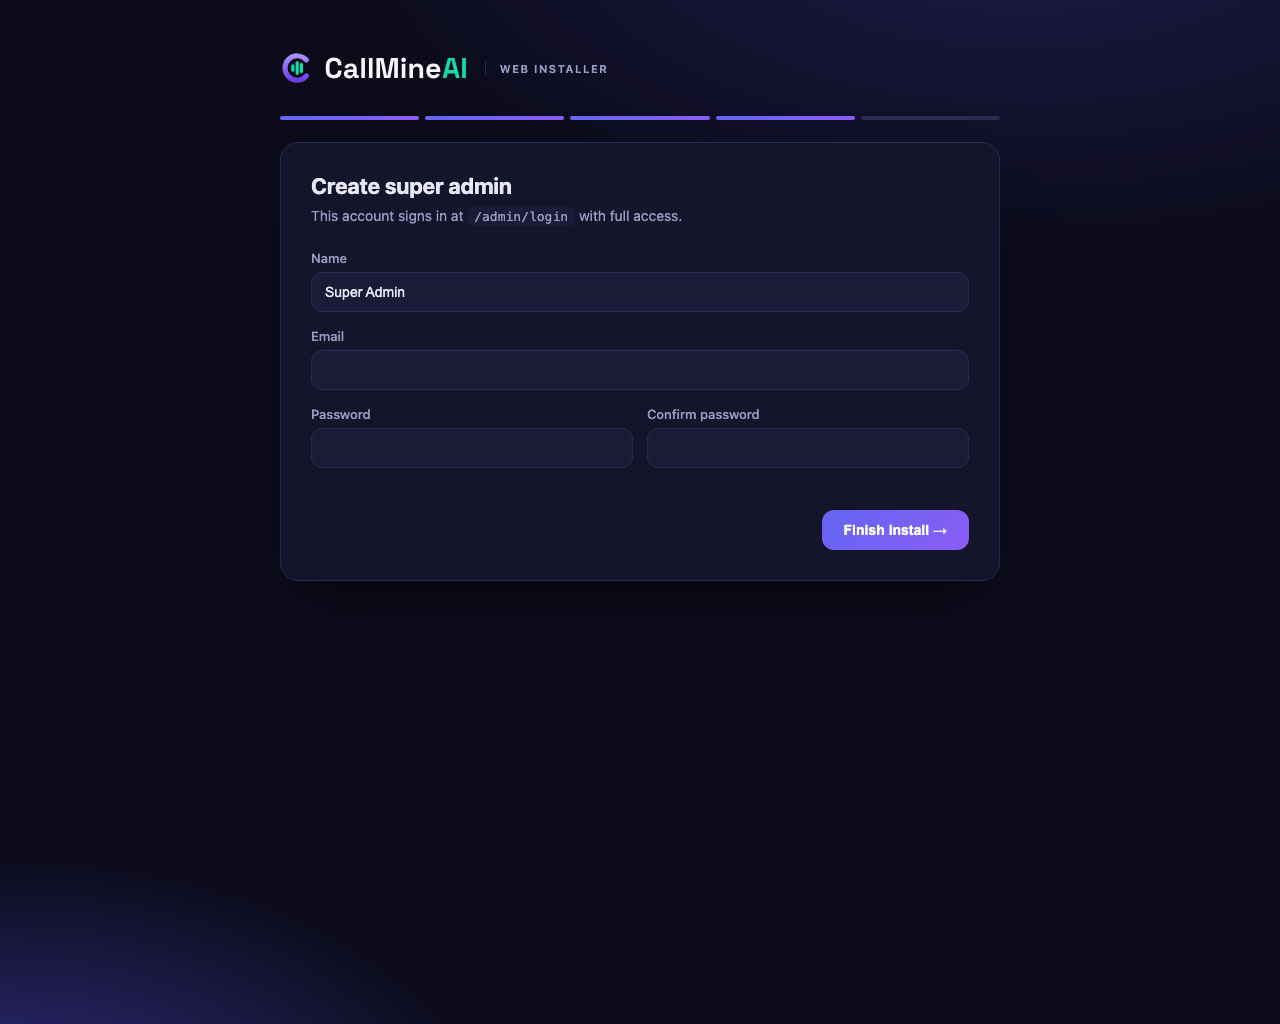
Create the account you'll use at /admin/login. This is separate from any demo customer account.
Step 5 — Done
The installer sets APP_INSTALLED=true, disables itself, and hands you links to the admin panel and the public site.
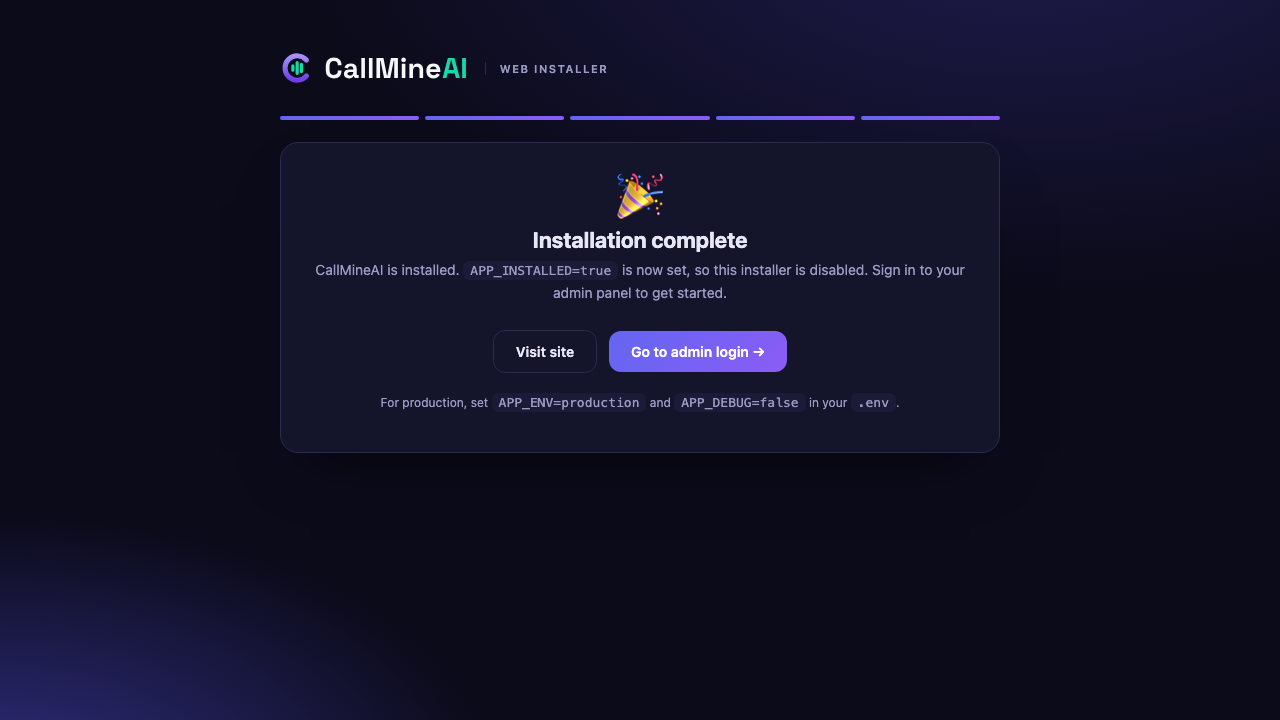
Harden before going live
The screenshot reminds you to finish production hardening in .env:
APP_ENV=production
APP_DEBUG=false
Then continue with post-install configuration — connect ElevenLabs, Twilio and OpenAI, and start a queue worker + scheduler.
CLI equivalent
The installer runs exactly these commands. You can reproduce it by hand:
php artisan key:generate            # if APP_KEY is empty
php artisan migrate --force         # schema
php artisan db:seed --force         # ESSENTIAL data only (DatabaseSeeder)

# Optional: the same demo dataset the installer's "Import demo data" loads
php artisan db:seed --class="Database\Seeders\DemoSeeder" --force

php artisan storage:link
Then set APP_INSTALLED=true in .env.
Seeder layout
DatabaseSeeder now contains only essential data. All sample content lives in DemoSeeder, which is opt-in from the installer or the --class flag above. This keeps production installs clean while giving evaluators a full dataset on demand.
Re-running or resetting
- Re-open the wizard: set
APP_INSTALLED=falsein.env. (You may also wantphp artisan config:clearif you cache config.) - Start over completely:
php artisan migrate:freshdrops and rebuilds the schema, then follow the steps above.
Troubleshooting
| Symptom | Fix |
|---|---|
/install redirects away / shows 404 | APP_INSTALLED is already true. Set it to false (and php artisan config:clear if config is cached). |
| "Could not write to the .env file" | Make .env writable by the web-server user. |
| "Database connection failed" | Re-check host/port/credentials; confirm the database exists and the user has privileges. The installer will not proceed until the connection works. |
| Requirements stuck on Missing | Install the flagged PHP extension or fix folder permissions, then refresh. |
| Blank page after "Run migrations & seed" | Check storage/logs/laravel.log; a seeder or migration error is shown there. |